

Zbrush Clay Build Up Not Working
Pixologic™ ZBrush® 2021 is the industry-standard 3D clay modeling software, and the perfect complement to the Wacom Cintiq line of products. The Pro Pen 2 that comes with both the Cintiq 16 and 22 opens up a realm of possibilities to work efficiently in ZBrush.
Plus, the software is constantly evolving. In ZBrush® 2021.7 that just launched, your brushes include a new Bevel Brush and Knife Brush. There's also a new smart feature called Adjust Last that lets you tweak your last action, instead of undoing and trying again, undoing and trying again, and so on.
Buy a Wacom Cintiq and get 3 months of Pixologic™ ZBrush® 2021 free
What is 3D clay modeling?
Take a moment and dream up a creepy monster in your head. Now picture yourself using your hands to throw clay and sculpt this monster – all of its appendages, eyes, the texture of its skin. Intimidating, right? Physical clay can take years, or even decades to master. It's unlikely that you could teach yourself how to sculpt this monster (and be satisfied with the results) in 90 days.

Plus, physical clay doesn't have an undo button. That's where ZBrush comes in.
This sculpting and modeling software includes a wide variety of brushes and tools to create the 3D shapes of your dreams – not just spooky monsters, but renderings of sneakers, diamond bracelets, movie props, and so much more.
Why use ZBrush with a Wacom Cintiq?
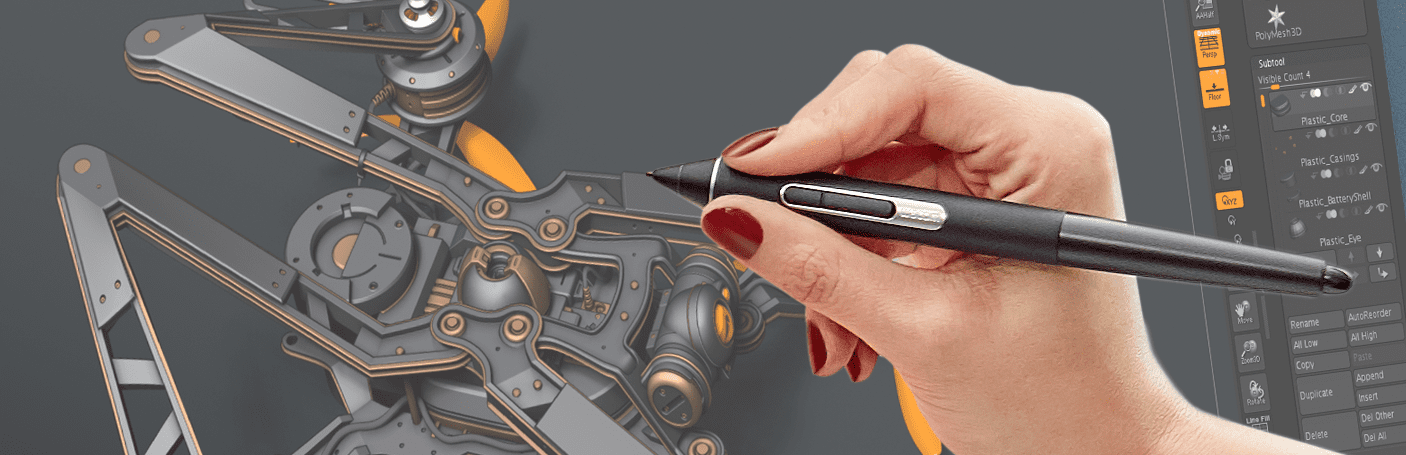
While it's entirely possible to use ZBrush with just an old-fashioned mouse and keyboard setup, pairing the software with a screen device like a Wacom Cintiq opens the door for a much more intuitive (and enjoyable!) workflow. Drawing directly on screen with your Cintiq means no hand eye disconnect – you'll easily see what you're shaping.
The key difference between a mouse and a pen is pressure sensitivity. With a Wacom pen and ZBrush, you can unlock the ability to adjust the intensity of your brush strokes with the pressure of your pen. Similar to shaping a ball of physical clay with a tighter squeeze, you'll see your 3D model adjust more rapidly with a heavy pen stroke.
Getting Started with ZBrush
Conquering your first session in ZBrush with your Cintiq is the biggest hurdle to 3D modeling success. There's a lot to learn in ZBrush, and it can be overwhelming to figure out where to start. Plus, when learning a tool, it's difficult to start with a blank canvas. Luckily, ZBrush gives you a selection of different 3D models to start with – for example, a Great Dane or a human head. We recommend picking one of these models and editing from there. To select a model, choose from the "Lightbox" in the upper left, and start tweaking your creation.
How to Set up Your Wacom Pro Pen 2 for ZBrush
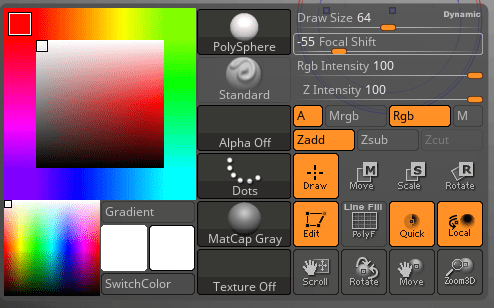
As you get started, there are a couple of tools that will help you navigate this otherwise tech-y looking interface. Various options exist all over the place in ZBrush, but the space bar brings them all to your pen tip with this menu.
Assigning the space bar to one of your Pro Pen buttons is one of the first things we recommend doing in ZBrush. Holding down that button gives access to Brushes, Brush size, Pan, Zoom, Rotate…pretty much everything a new user is going to need to get started and be successful. Here's how to assign pen buttons on your Pro Pen .
Beyond the space bar, here are two other shortcuts you might like to assign to your other pen button (or assign both of these if you're using our Pro Pen 3D with 3 buttons!)
Alt button: Reverses the effects of a brush
Alt is a very powerful modifier in ZBrush, as it gives your pen strokes the ability to have an inverse effect. For example, if you are using the "Clay Build-up" brush, pen strokes become a clay removal brush. If you're using the Inflate, it becomes the "deflate." This makes rapid iteration incredibly easy and, well…fast.
Shift button: Smoothing
Shift is another powerful tool for iteration. You can block out your model by using more aggressive brushes, then quickly make a few passes with Shift and the pen tip to smooth everything out and make it look more organic. If you want to add some extra crunch and texture to your model, throw in the Alt modifier to get the opposite of smoothing.
Now that you have your pen buttons set up, you'll find it easier to make things happen in ZBrush. While it will still take some time to get acclimated to the interface, you're on the right track.
Learning more about ZBrush and Your Wacom Cintiq
ZBrush also has a rich community that Wacom users should take advantage of to learn, ask questions, and get inspiration from other artists. ZBrush Central houses a gallery of art created with ZBrush, along with a forum for asking questions when you get stuck. ZBrush also has a robust community on Reddit and on their YouTube channel. To follow along live as artists sculpt in ZBrush, follow Pixologic on Twitch . If you'd like to see more hands-on tips from ZBrush pros, tune into ZBrush Summit on October 23rd-26th. During the event, you can enter to win Wacom prizes, access exclusive discounts, and see all the latest from Pixologic.
Zbrush Clay Build Up Not Working
Source: https://community.wacom.com/us/using-zbrush-with-your-wacom-cintiq/
Posted by: meehipen1969.blogspot.com
0 Response to "Zbrush Clay Build Up Not Working"
Post a Comment